This article describes how custom fields can be created, updated, and deleted for a program season.
Overview
Custom fields allow additional information to be captured from participants during registration, or for additional information to be captured against participants by administrators after registration.
Custom fields are configured on a season by season basis and PlayHQ currently supports text box and dropdown list custom field types.
Prerequisites
- You have created a program and program season or are an organisation participating in a shared program season
Viewing custom fields
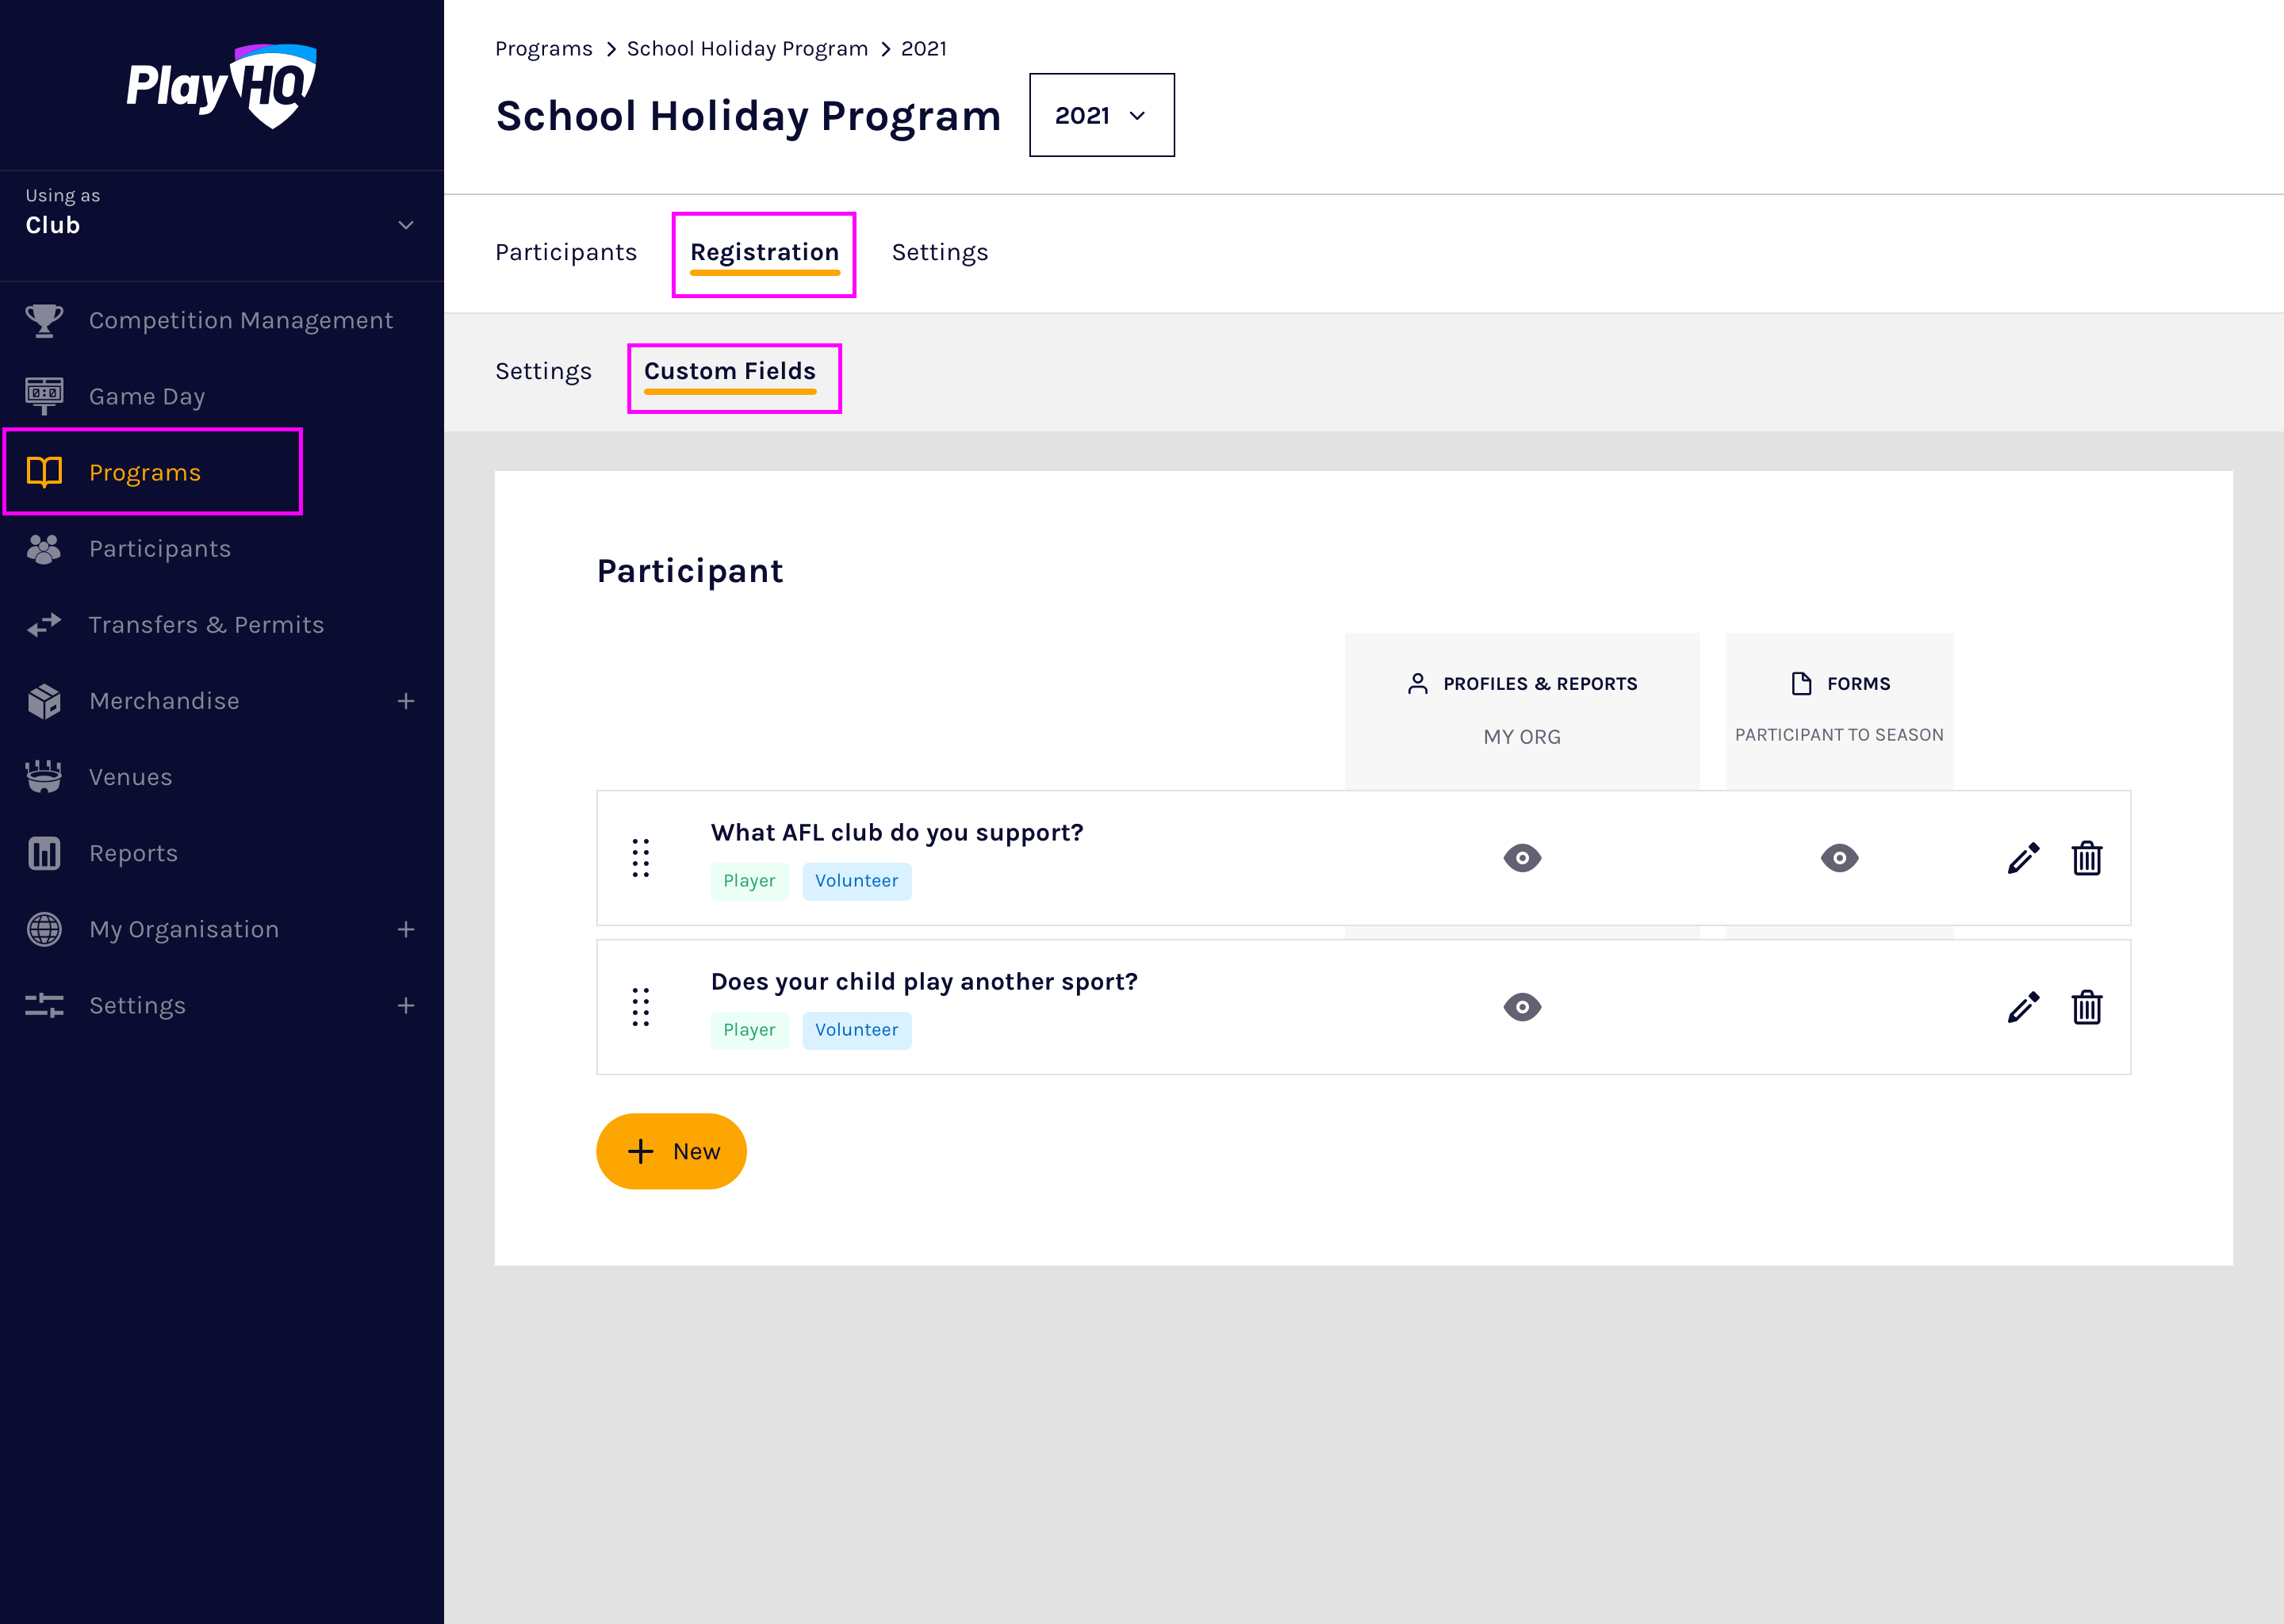
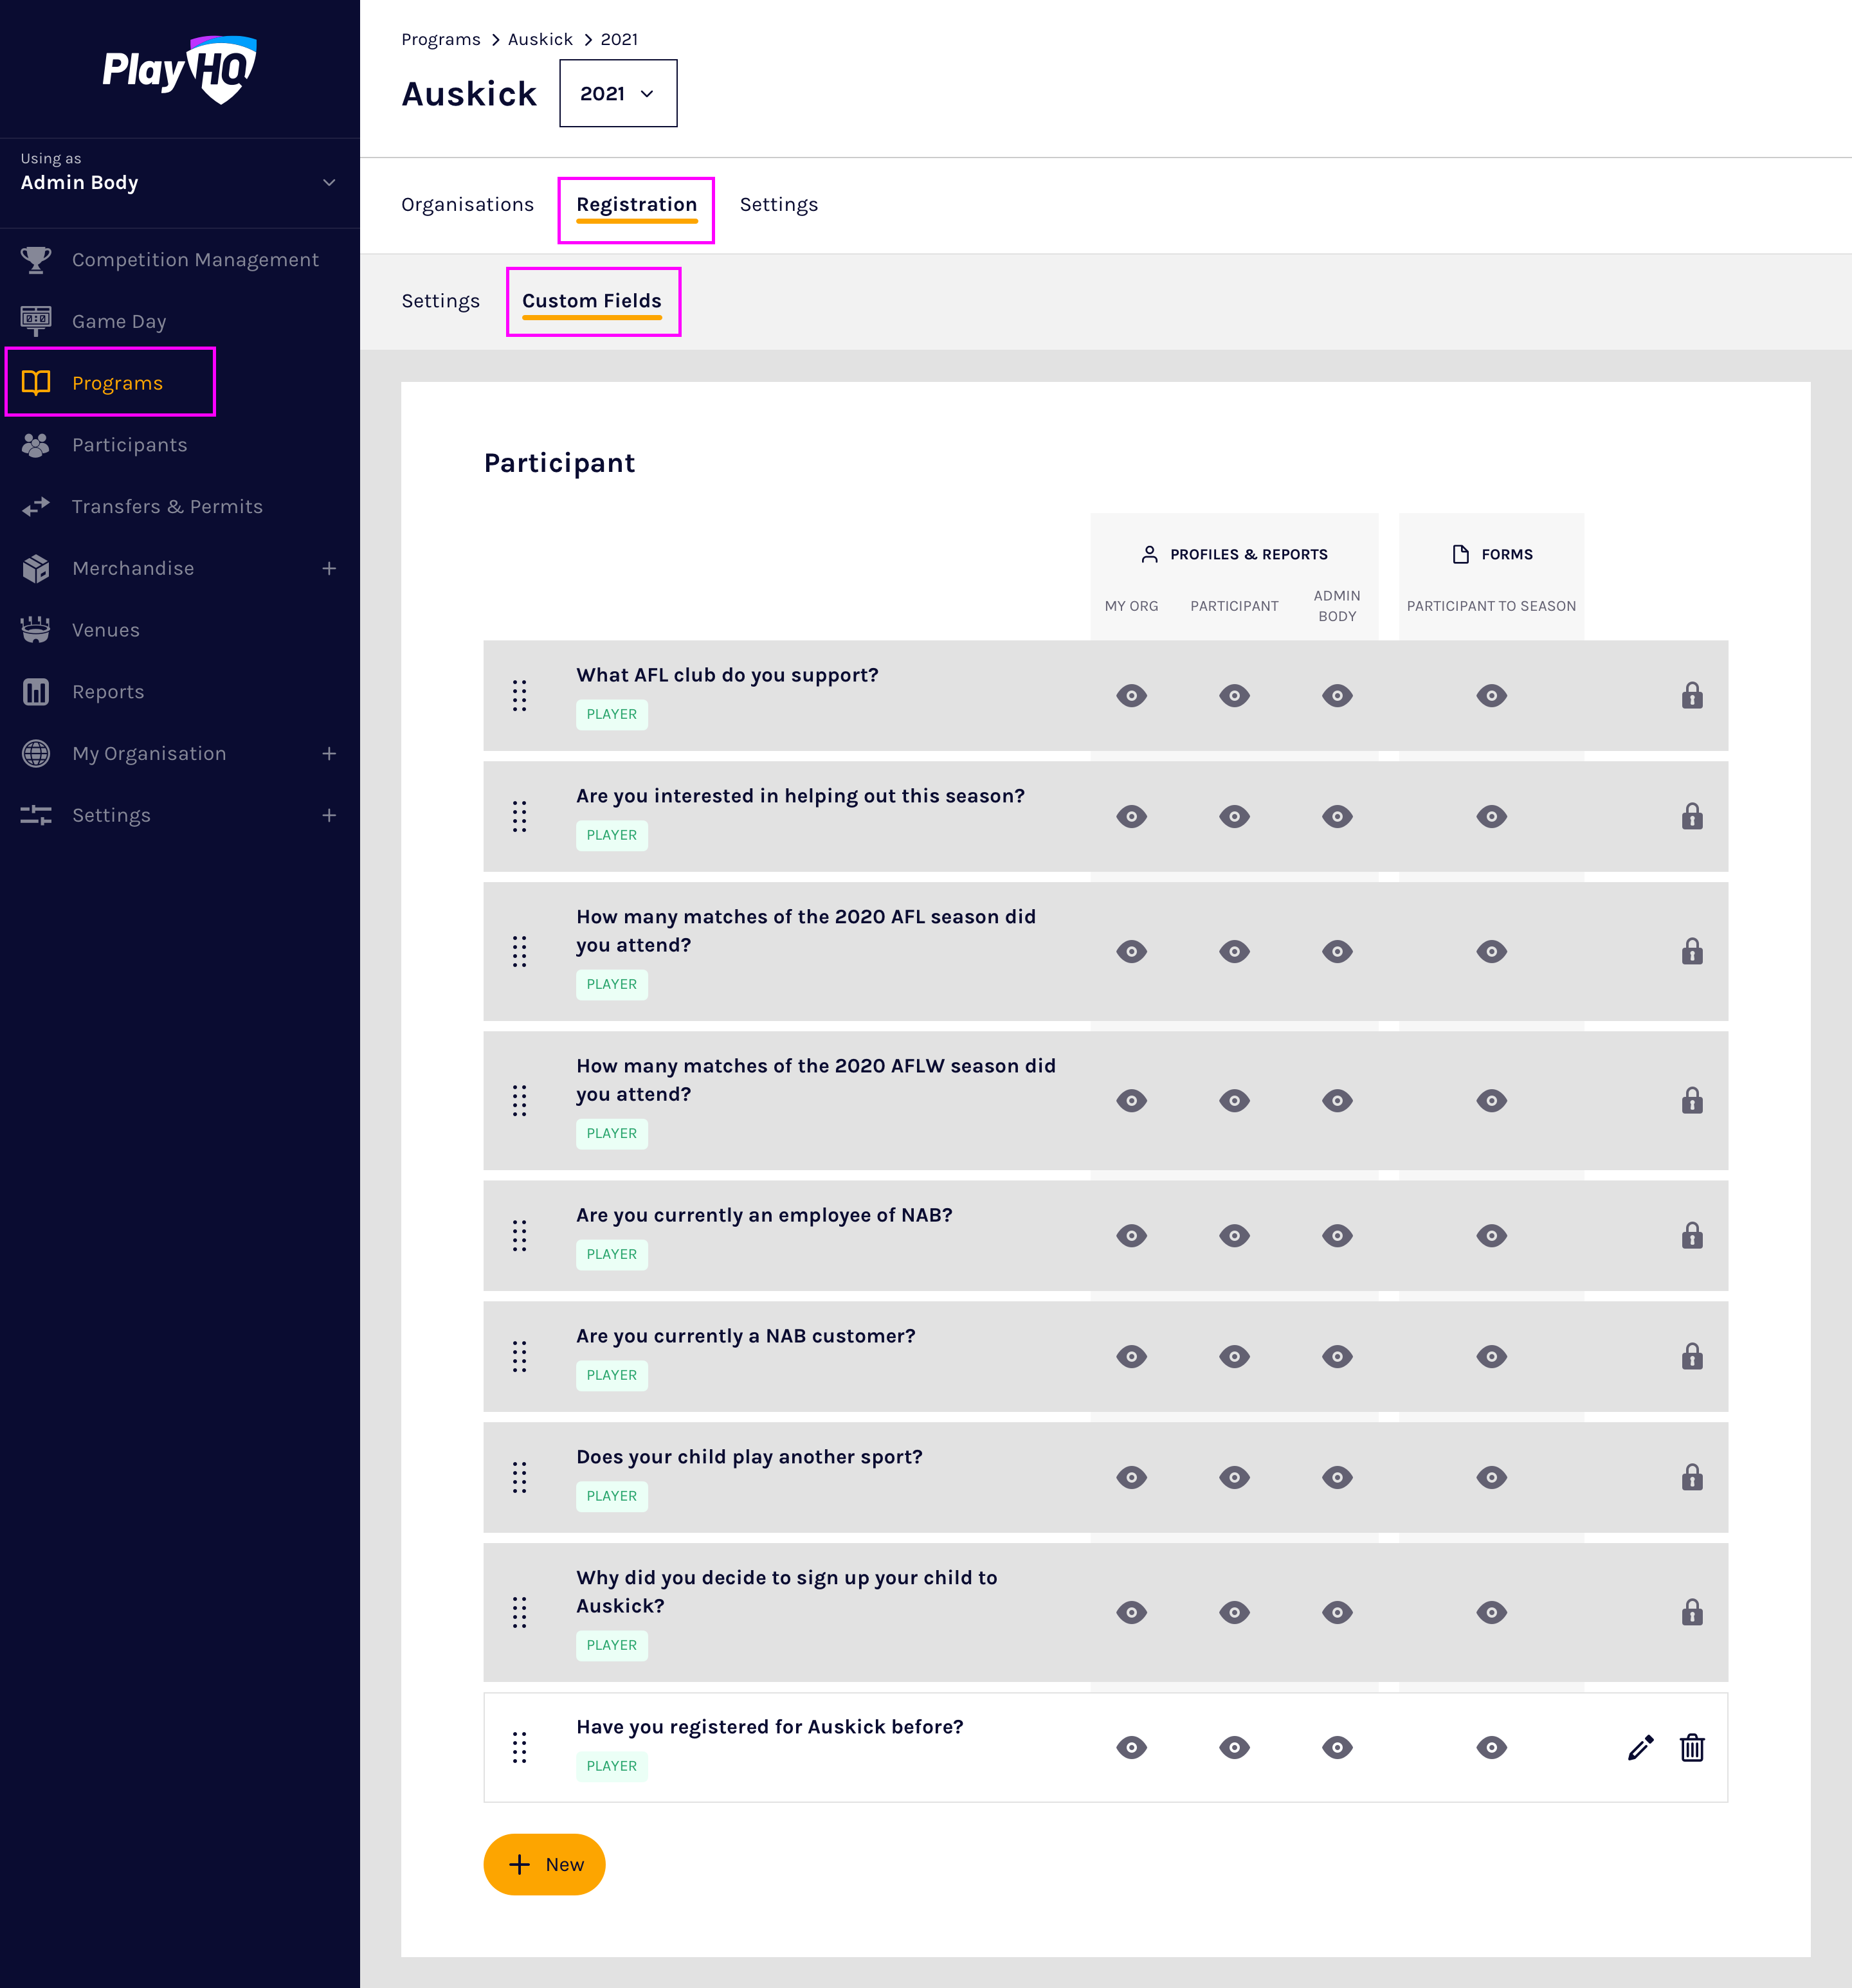
To view your season's custom fields, navigate to the Programs area, select a program and season then select the Custom Fields tab within the Registration tab.
For a local program
For a shared program
Creating a text box custom field
Text boxes are useful for capturing free-text responses of up to 100 characters, from participants.
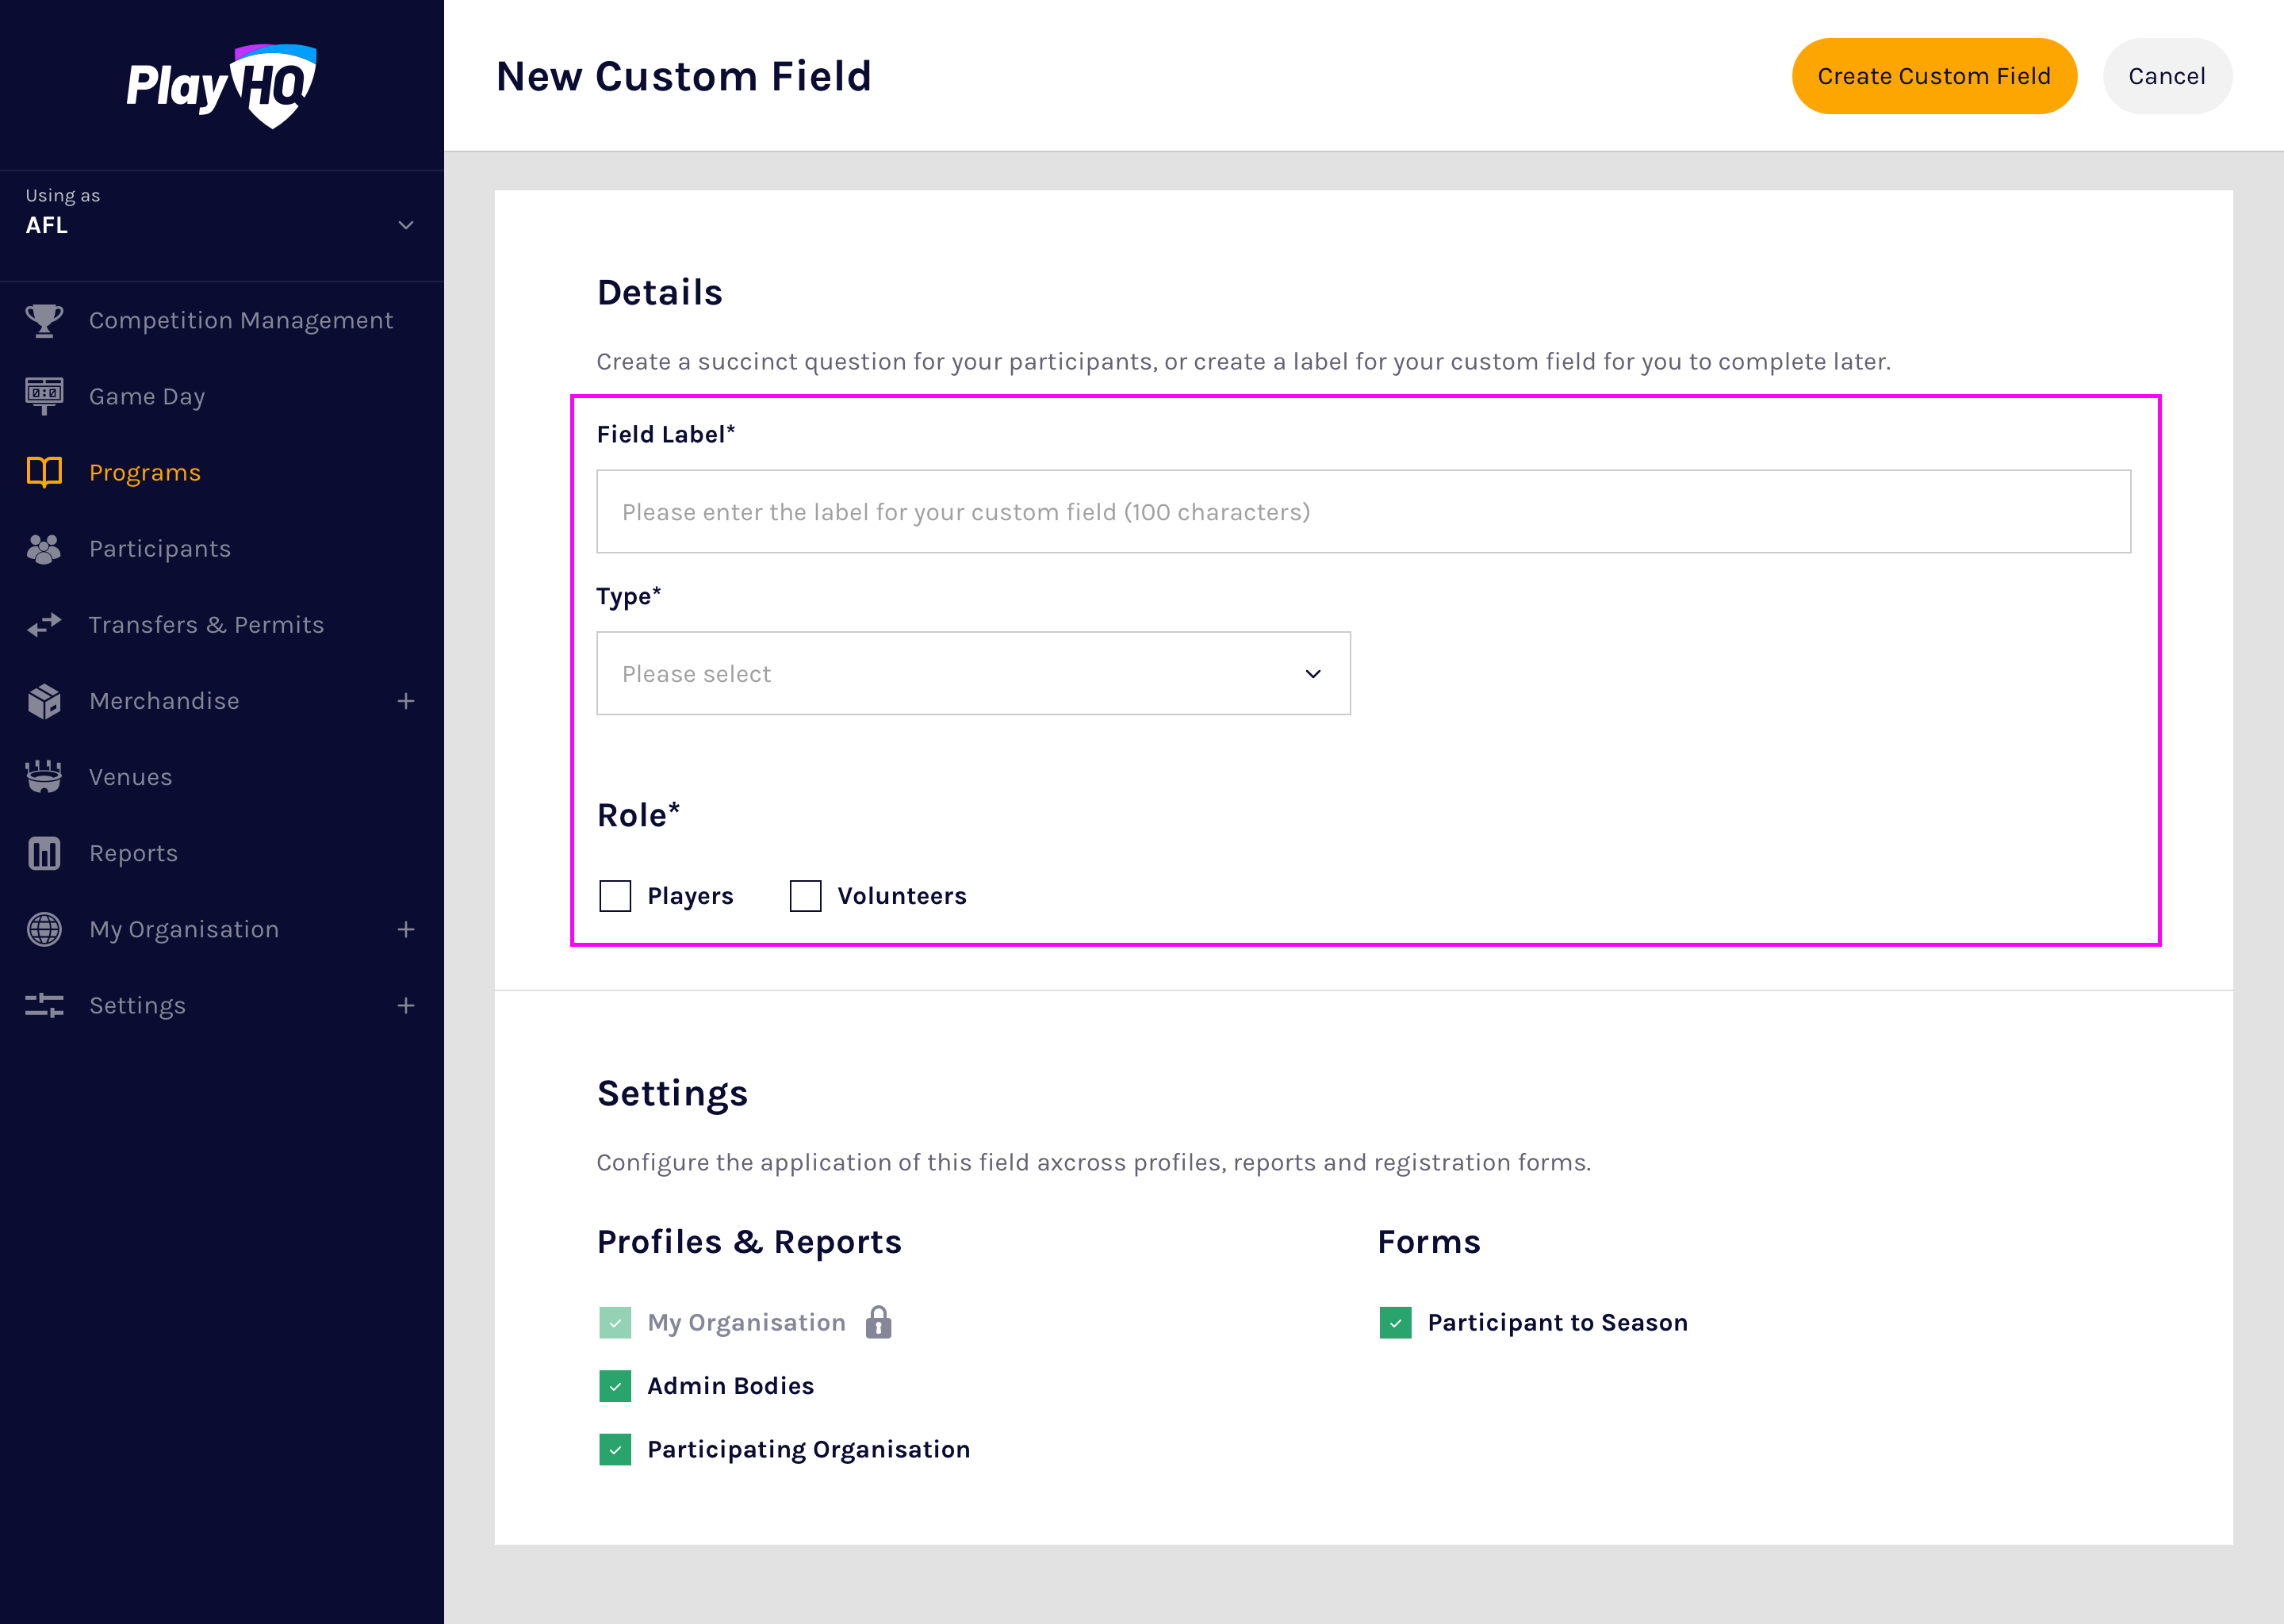
To create a text box, select New from the custom field list, type a succinct field Label that will be displayed on registration forms, select the Text Box type then select one or more participant Role(s) that the custom field is applicable for:
Select the profile pages and registration forms that the custom field will be displayed on:
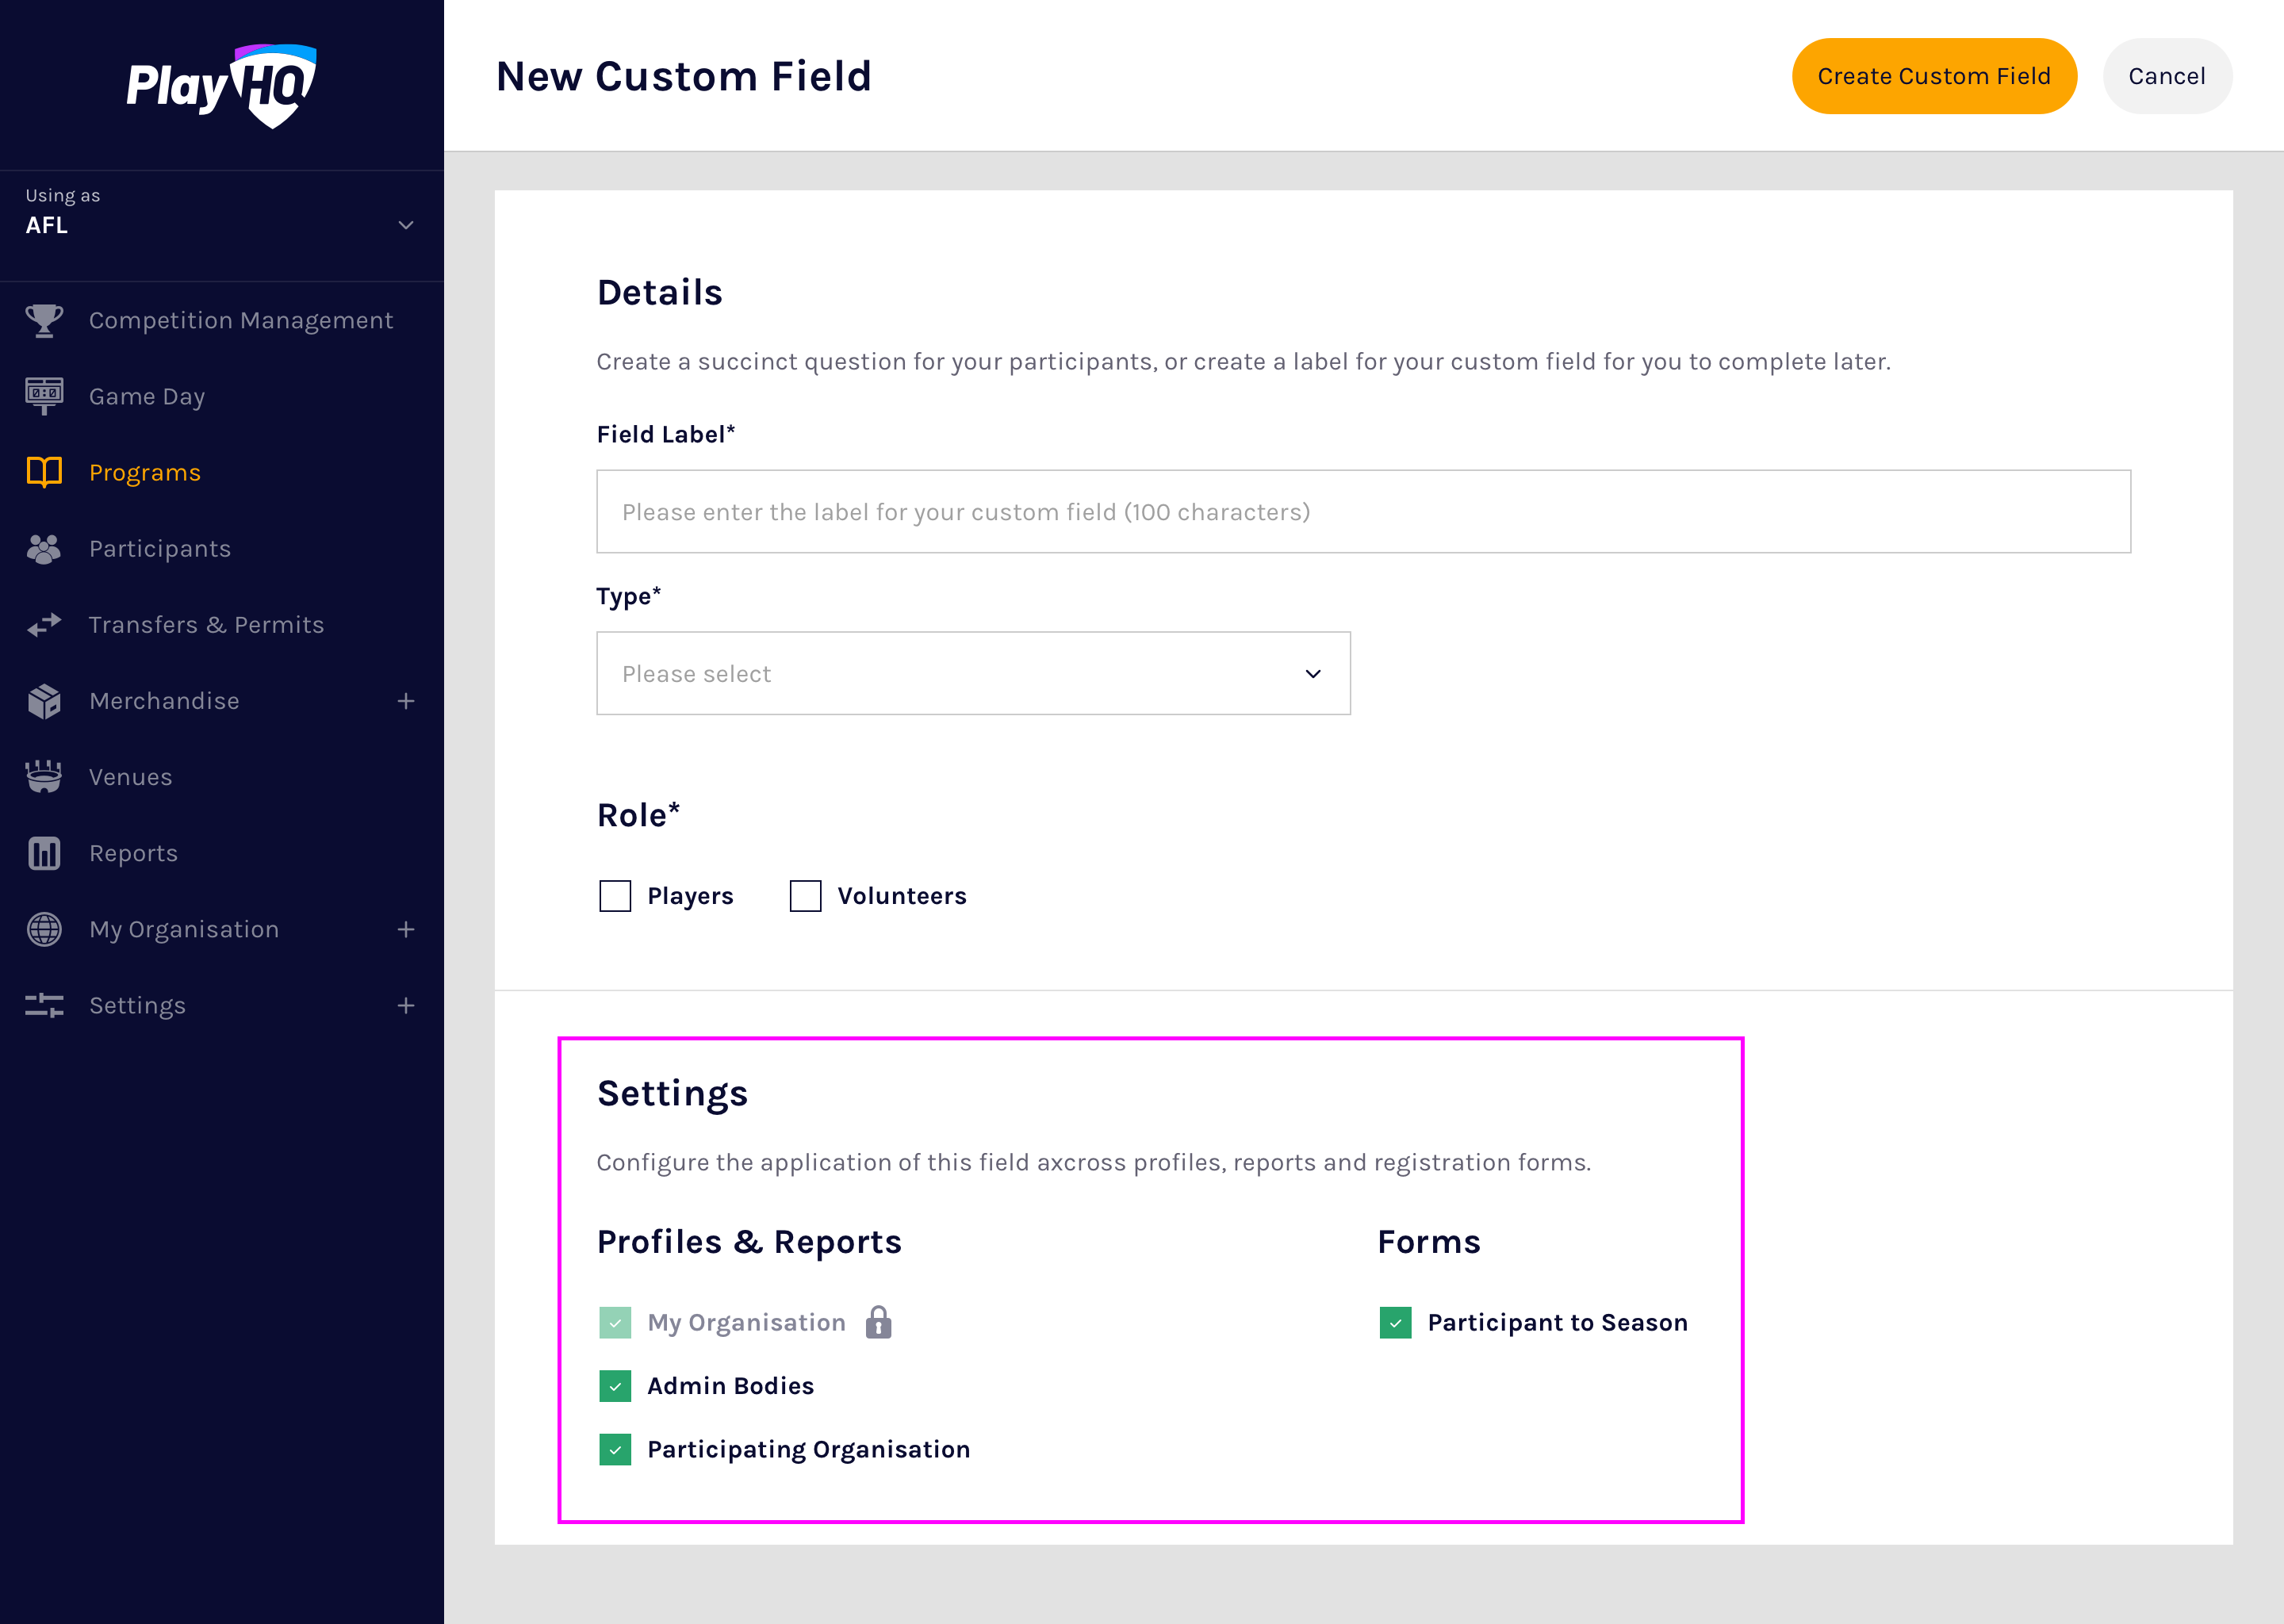
📝 Note: The 'Profiles & Reports' that you can select are dependant on the program type and your organisation's participation in the program.
Finally, select Create and the custom field will appear at the bottom of your list of custom fields.
Creating a dropdown list
Dropdown lists are useful for capturing one of a fixed set of responses from participants, such as Yes/No responses or participation preferences.
To create a dropdown list, select New from the custom field list, type a field Label, select the Dropdown List type then enter the labels of the first two dropdown options:
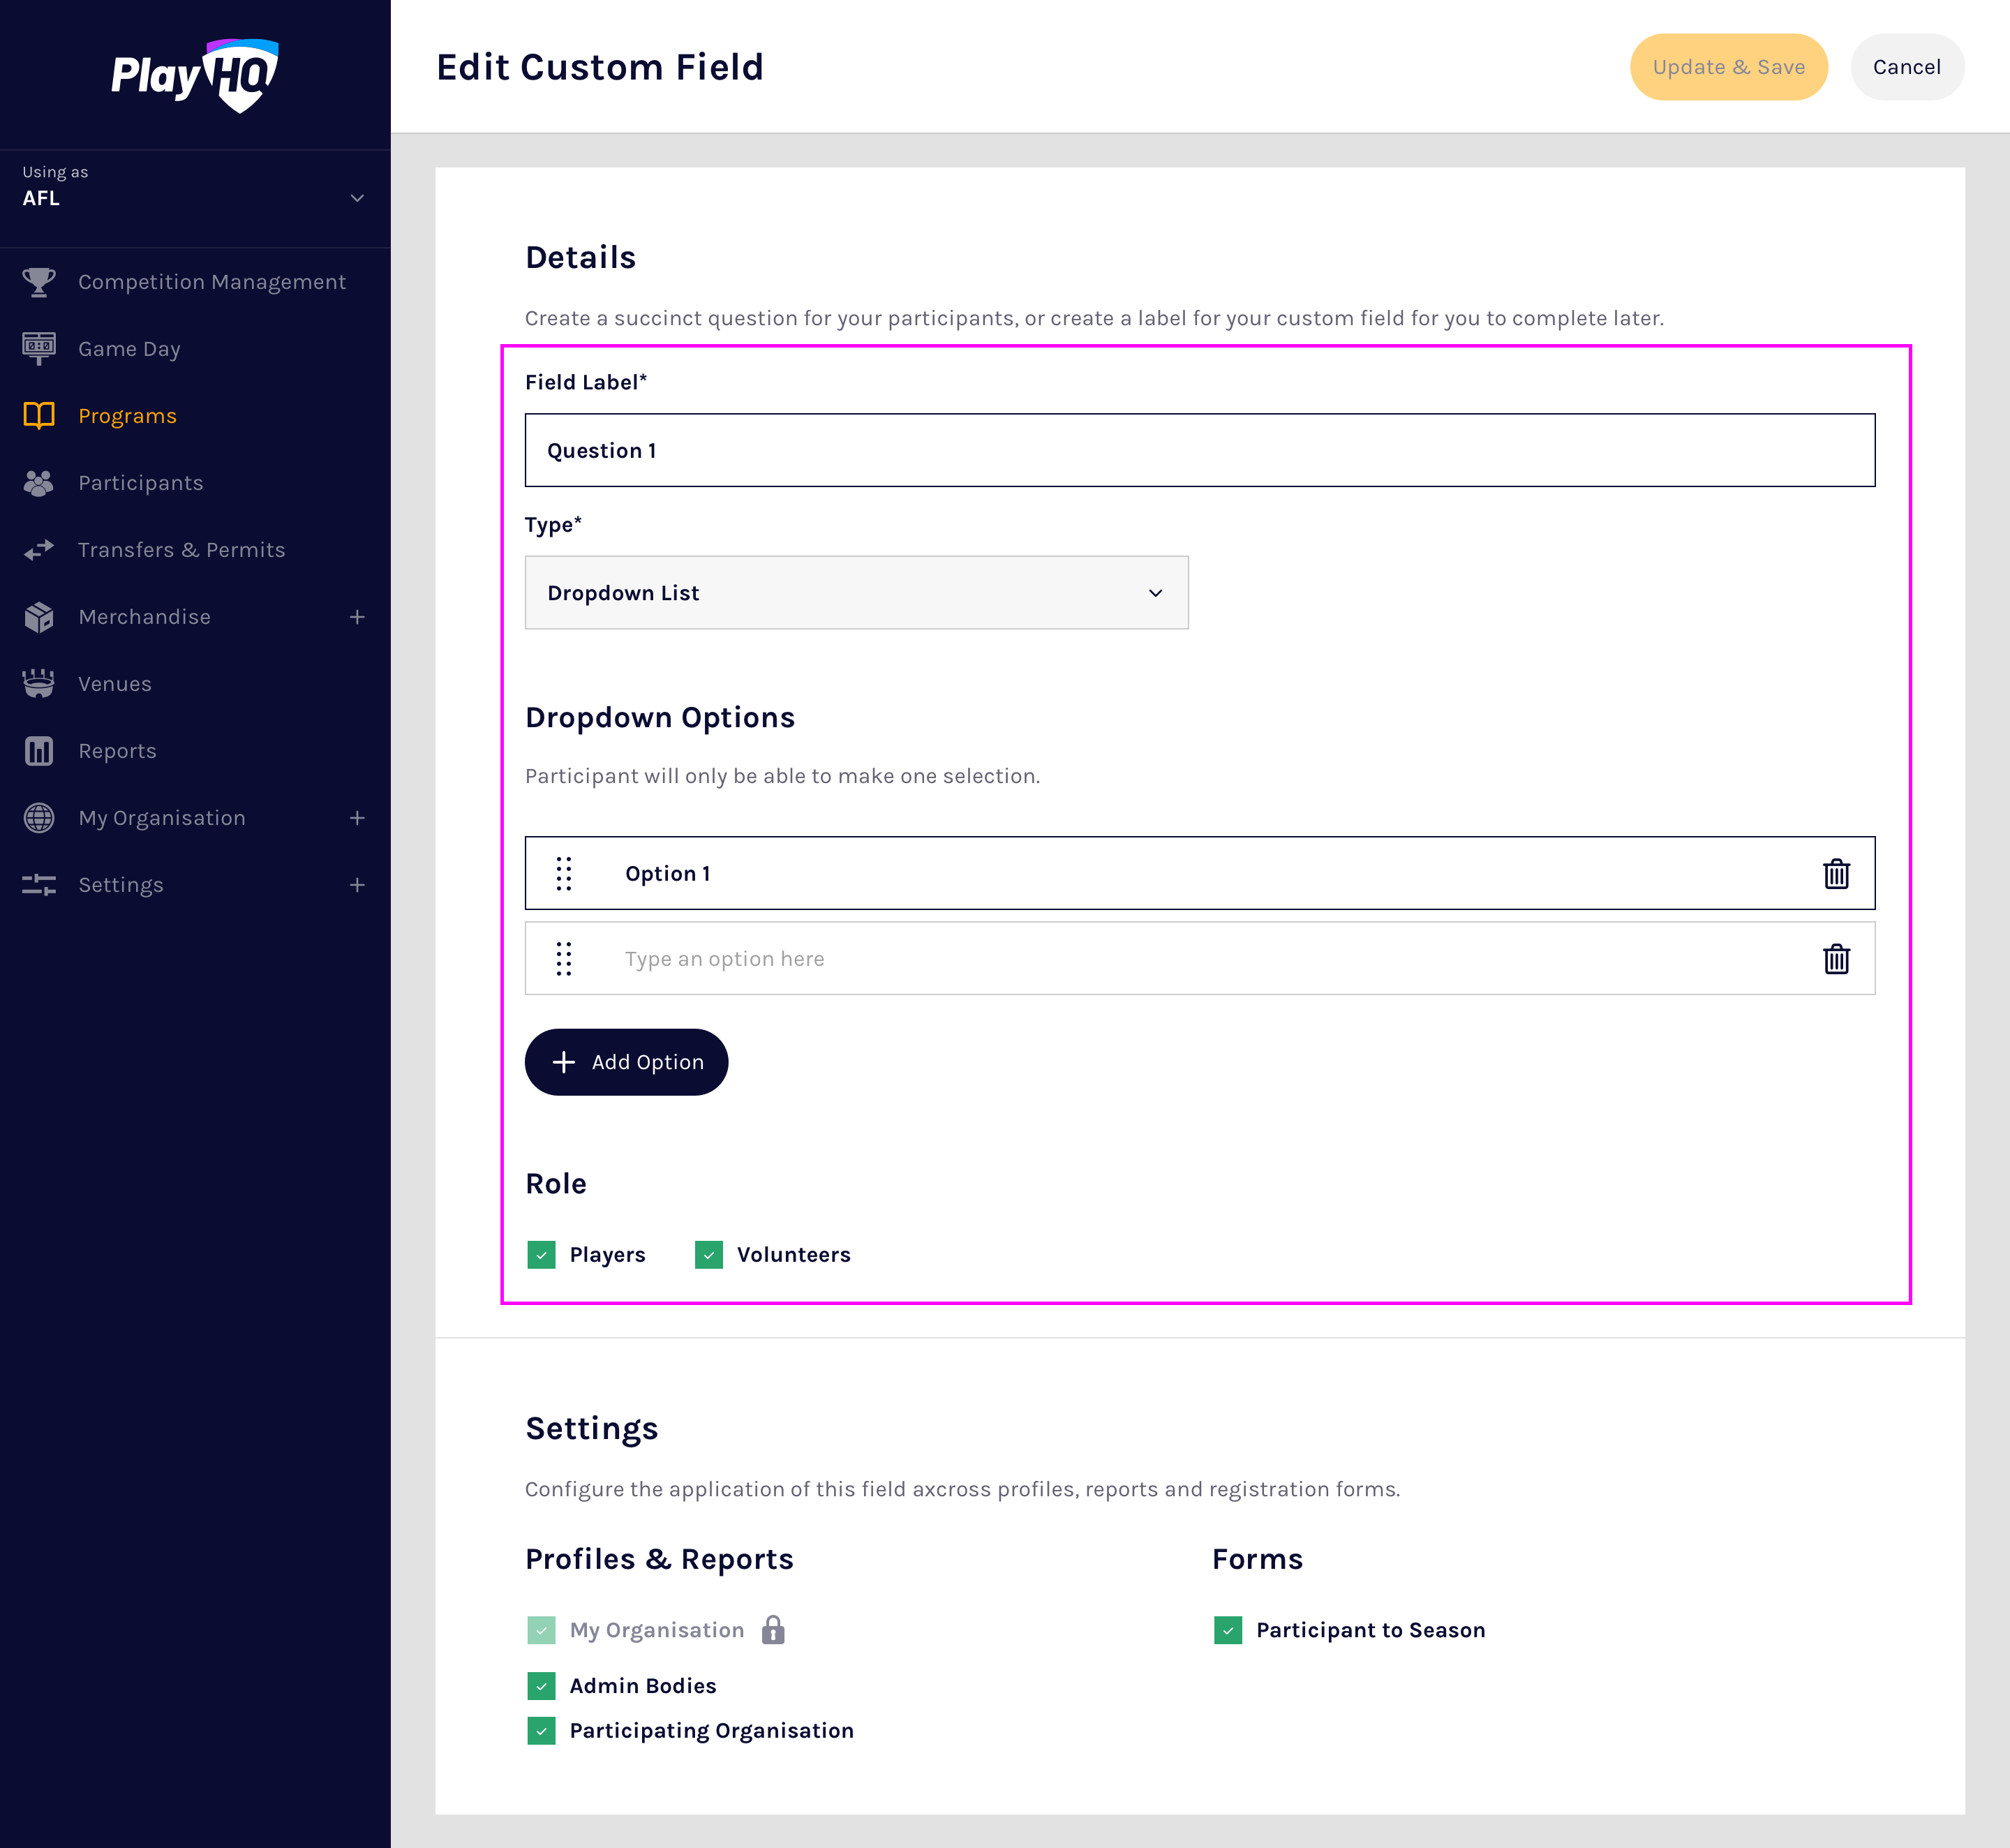
📝 Note: Each option label can be up to 50 characters in length.
To add additional options, select Add Option then complete the option labels.
💡 Tip: Up to 25 options can be created for a single dropdown list. Use a Text Box custom field if you require more than 25 options.
Select one or more participant Role(s) that the custom field is applicable for, select the profile pages and registration forms that the custom field will be displayed on:

📝 Note: The 'Profiles & Reports' that you can select are dependant on the program type and your organisation's participation in the program.
Finally, select Create and the custom field will appear at the bottom of your list of custom fields.
Edit a custom field
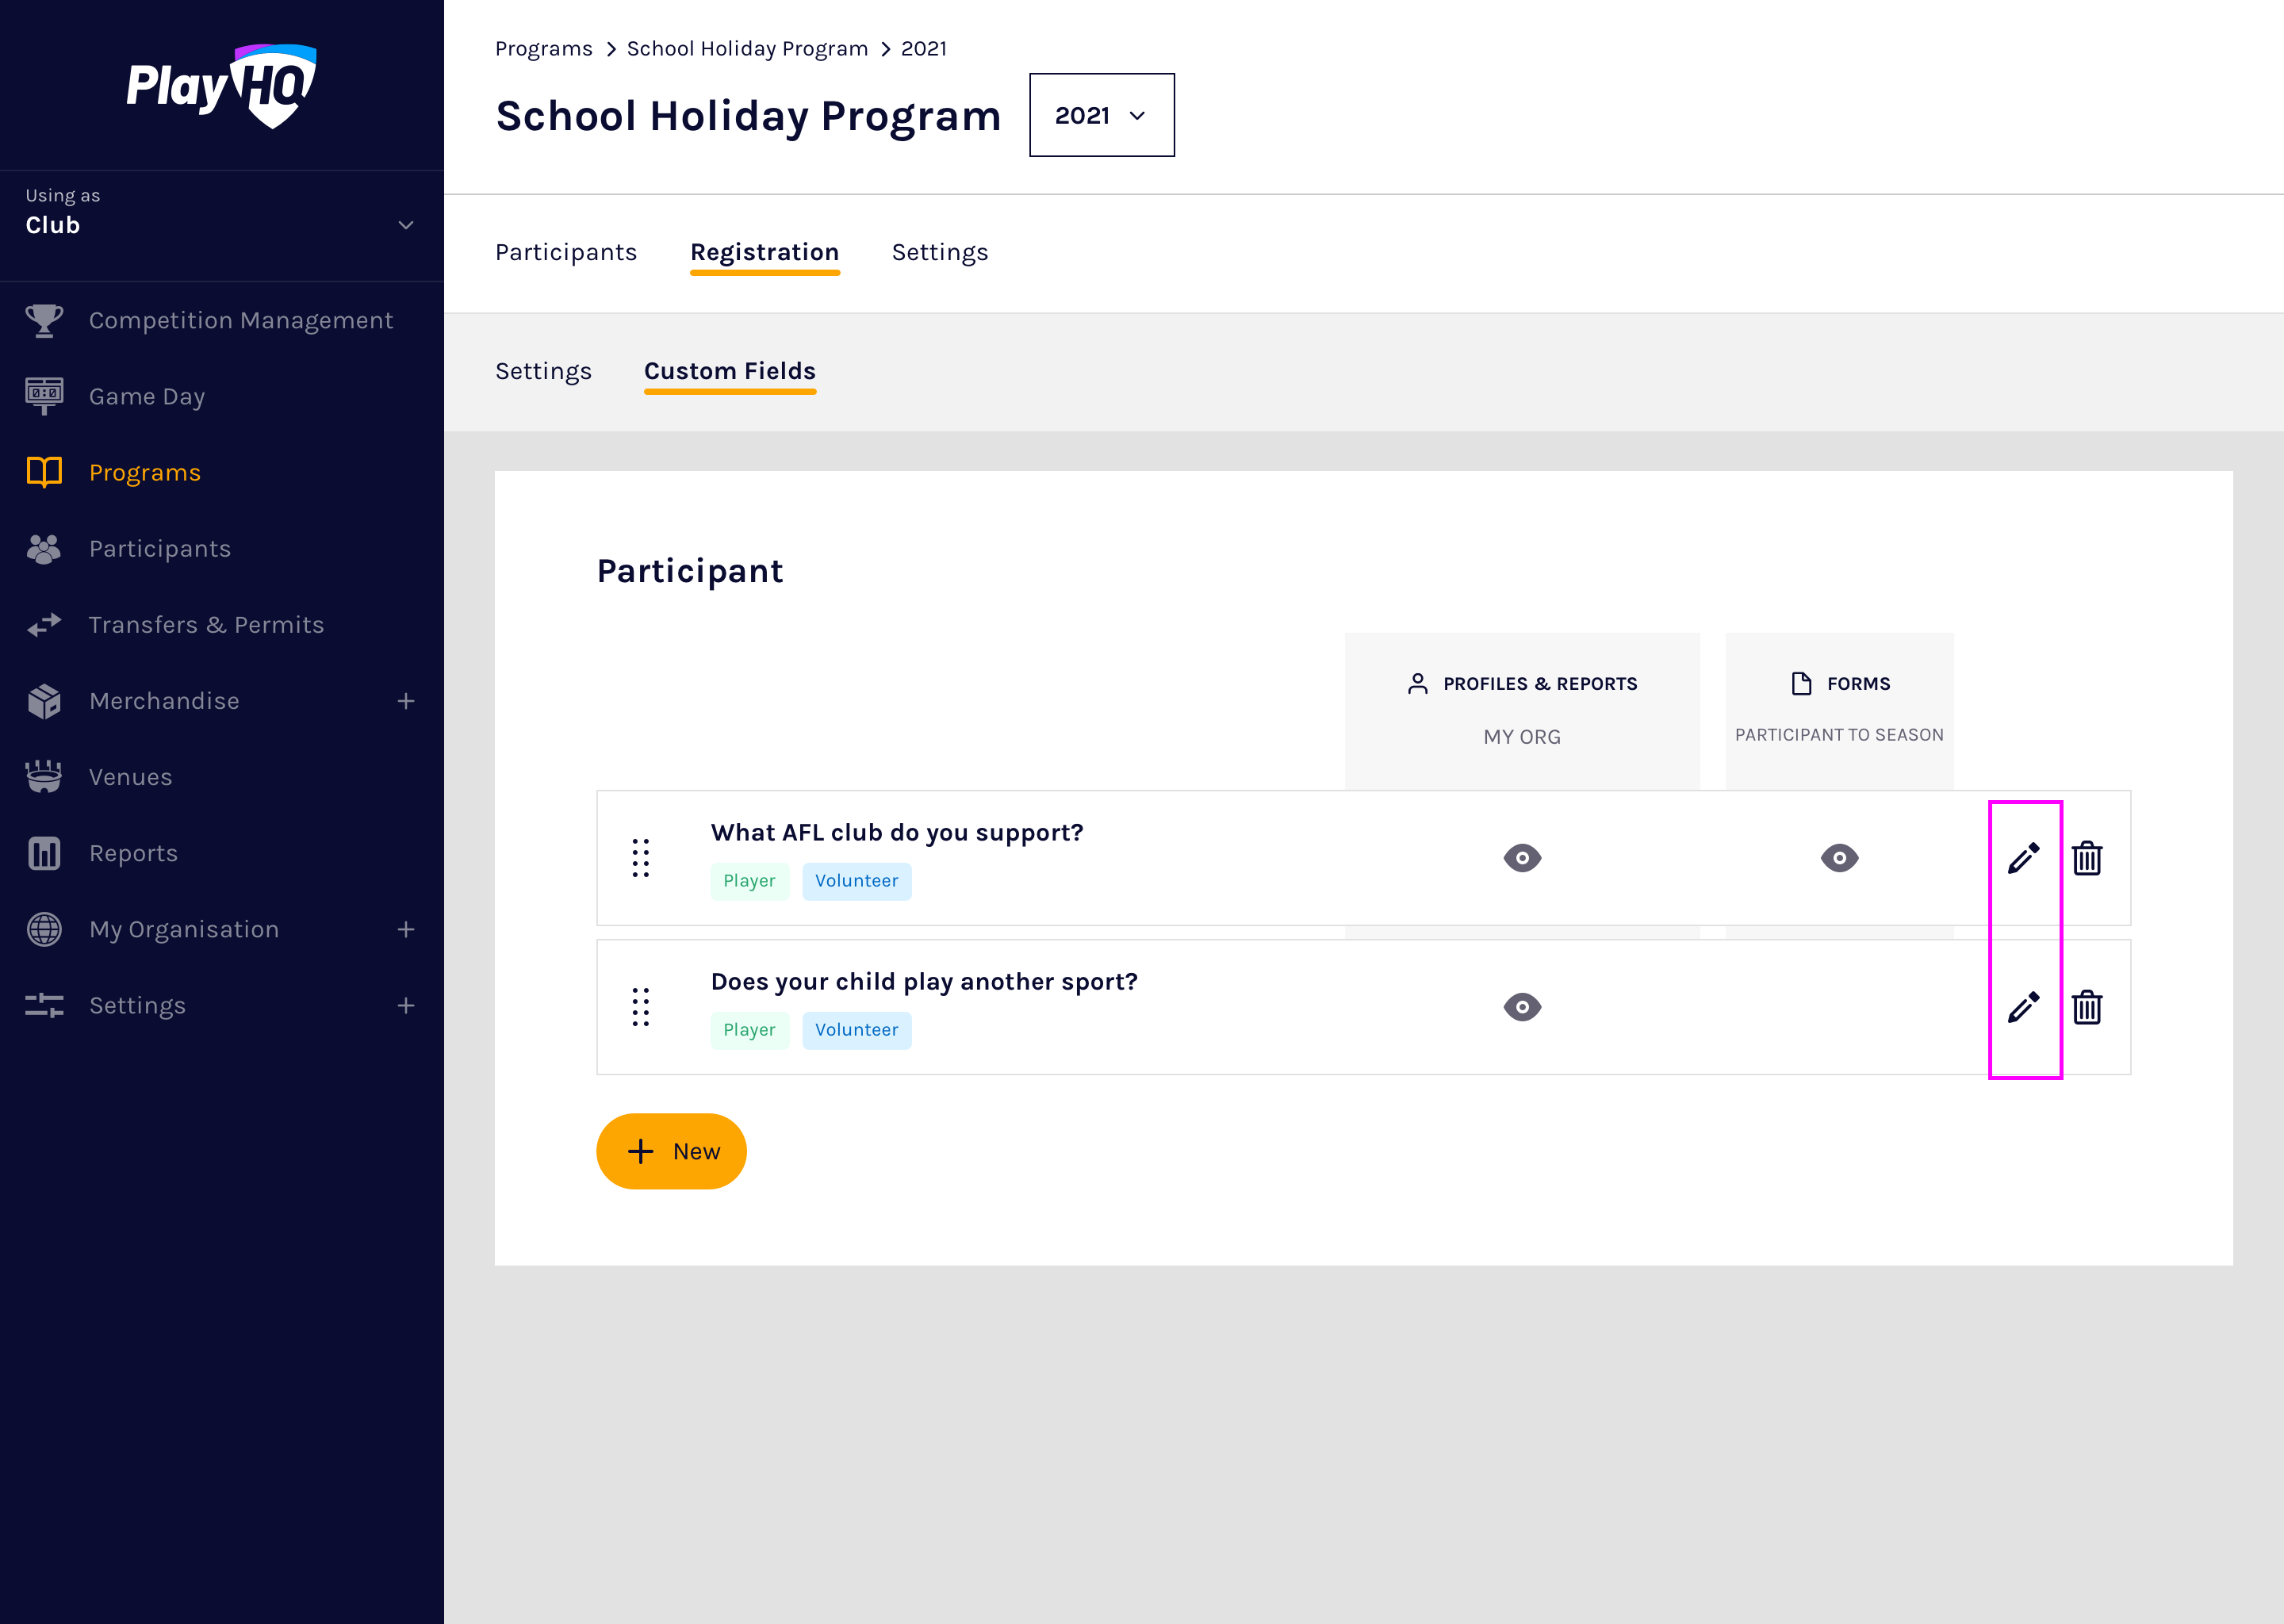
Custom fields can be edited by selecting the Pencil icon on the custom field list, making the necessary changes, and selecting Save.
Existing data impacts
Editing a custom field after registrations have opened may impact existing data. See below for a list of supported changes and their impact.
| Change | Impact |
| Update label | The updated label will be displayed on registration forms. |
| Add new dropdown list option | The new option will be selectable on registration forms. |
| Remove dropdown list option | The option will no longer be displayed on registration forms. If data has already been collected for the removed option, a warning message will be displayed and data collected for the option will be permanently removed if you proceed. |
| Re-order dropdown list options | The new option order will be used on registration forms. |
| Select new role | The field will be displayed to participants with the new role on registration forms. |
| De-select role | The field will no longer be displayed for participants with the de-selected role on registration forms. Data will be retained if collected for a participant with the removed role. |
| Select new profile page or form(s) | The field will be displayed on the new profile page or form(s). |
| De-select profile page or form(s) | The field will no longer be displayed on the de-selected profile page(s) and form(s). Data will be retained if collected on a de-selected profile page or form(s). |
Reorder a custom field
To reorder a custom field, select the custom field on the left-hand side and drag the custom field to the desired position:
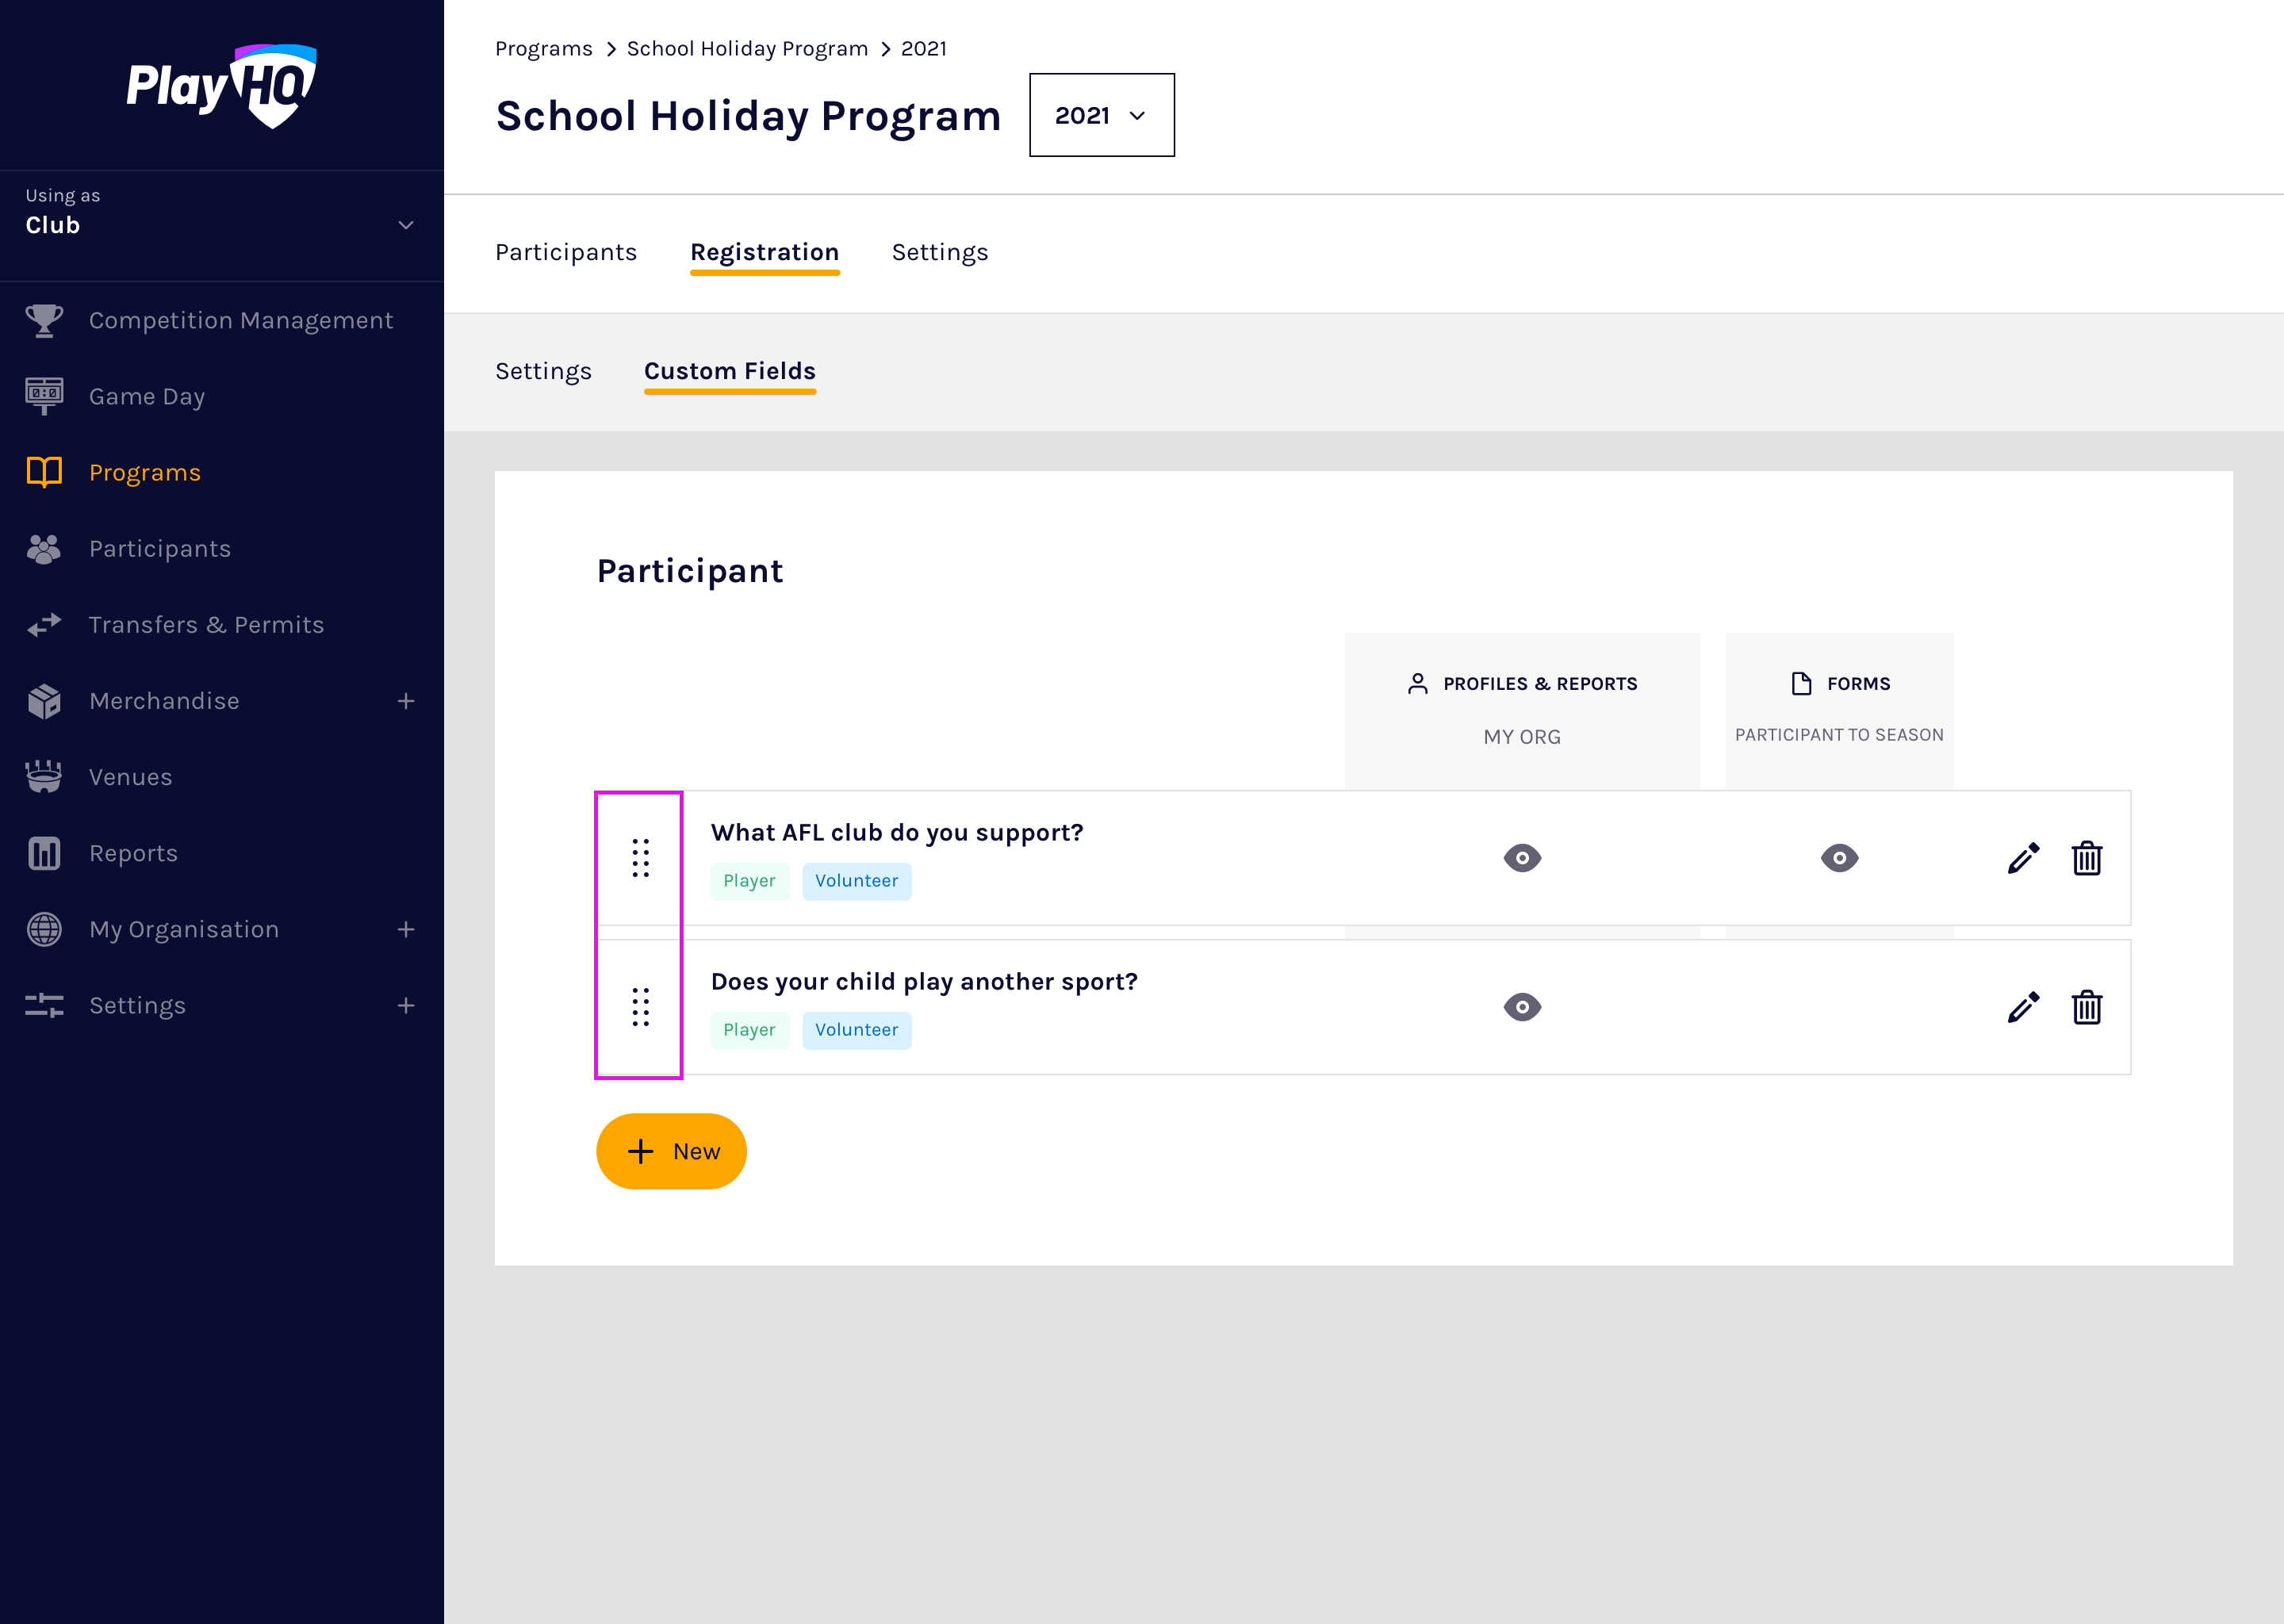
📝 Note: Reordering a custom field will change the field's order on all registration forms and admin portal pages.
Remove a custom field
Removing a custom field will remove the field and any data collected for that field.
To remove a custom field, select the rubbish bin icon on the right side of the custom field list:
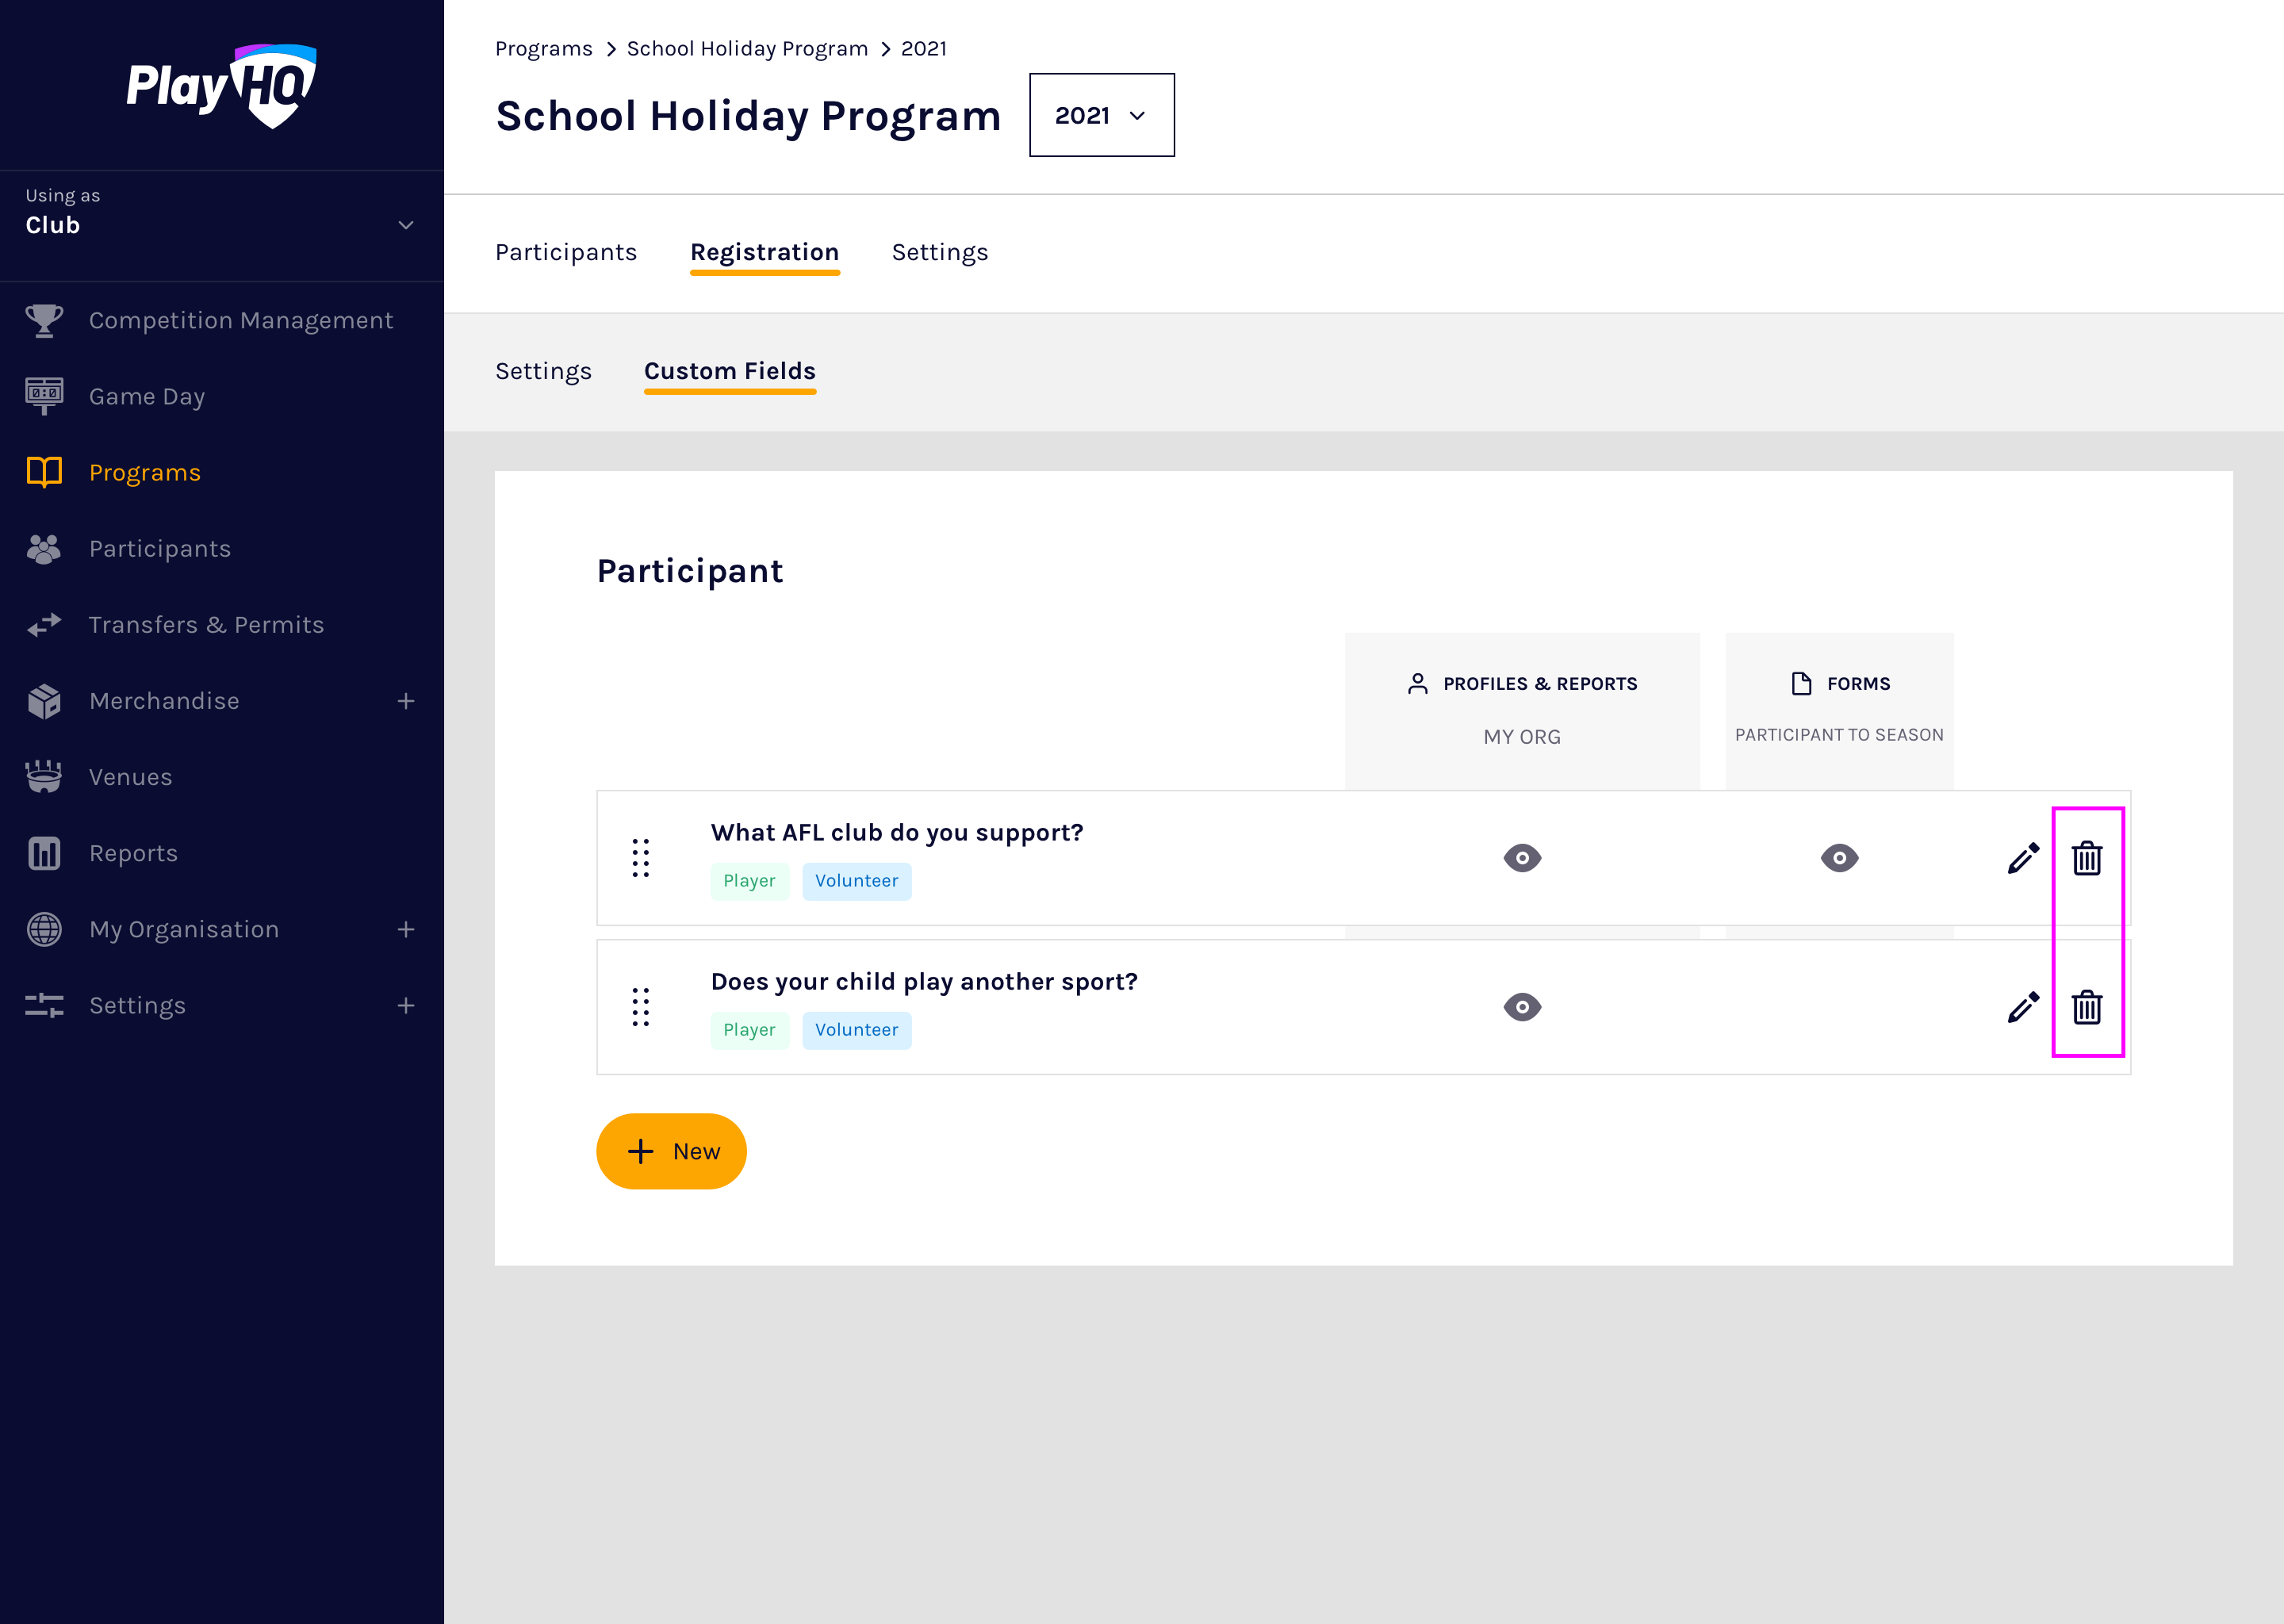
If no data has been collected for the field, a basic warning message will be displayed. Select Remove Custom Field to remove the custom field or Cancel to keep the field:
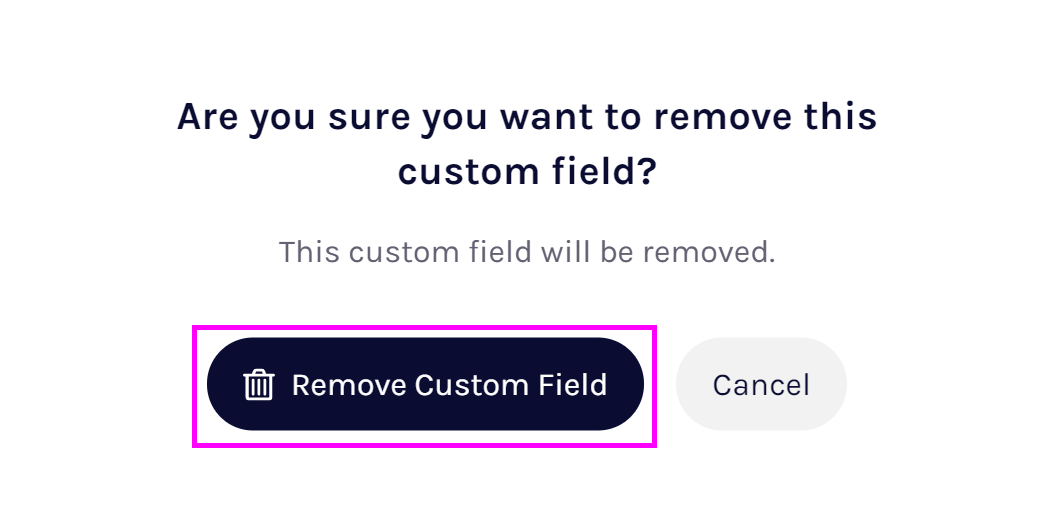
If data has been collected for a field, a red warning message will be displayed.
Please note that if you confirm to remove a custom field with data collected, all data collected for that field will be permanently removed. If you wish to remove the field but retain the data, select Cancel then edit the field and toggle the field's registration form visibility settings.
Collecting and viewing participant data
Once your registration form setup is complete, participants will see your custom fields during registration. All custom fields are mandatory to complete, so ensure only relevant custom fields are included on registration forms.
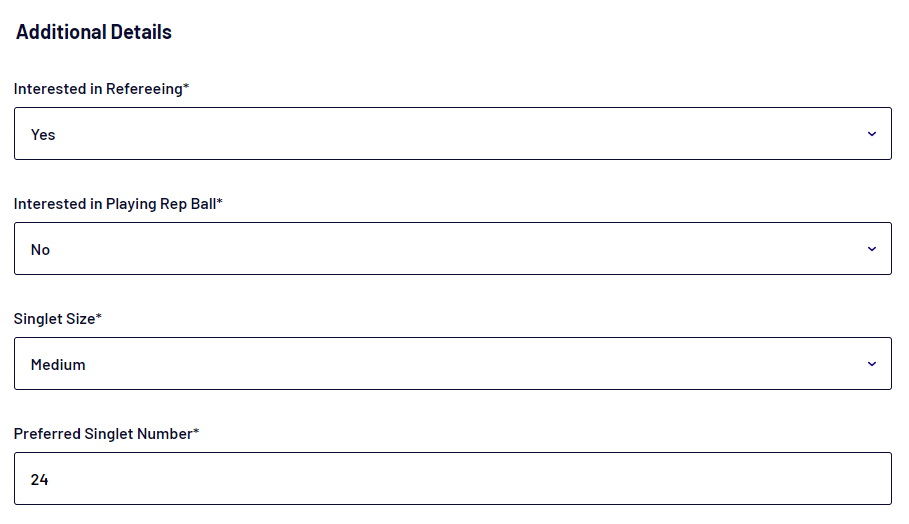
Once a participant has registered, their responses can be viewed and edited by expanding the appropriate Registration History panel within a participant's profile:
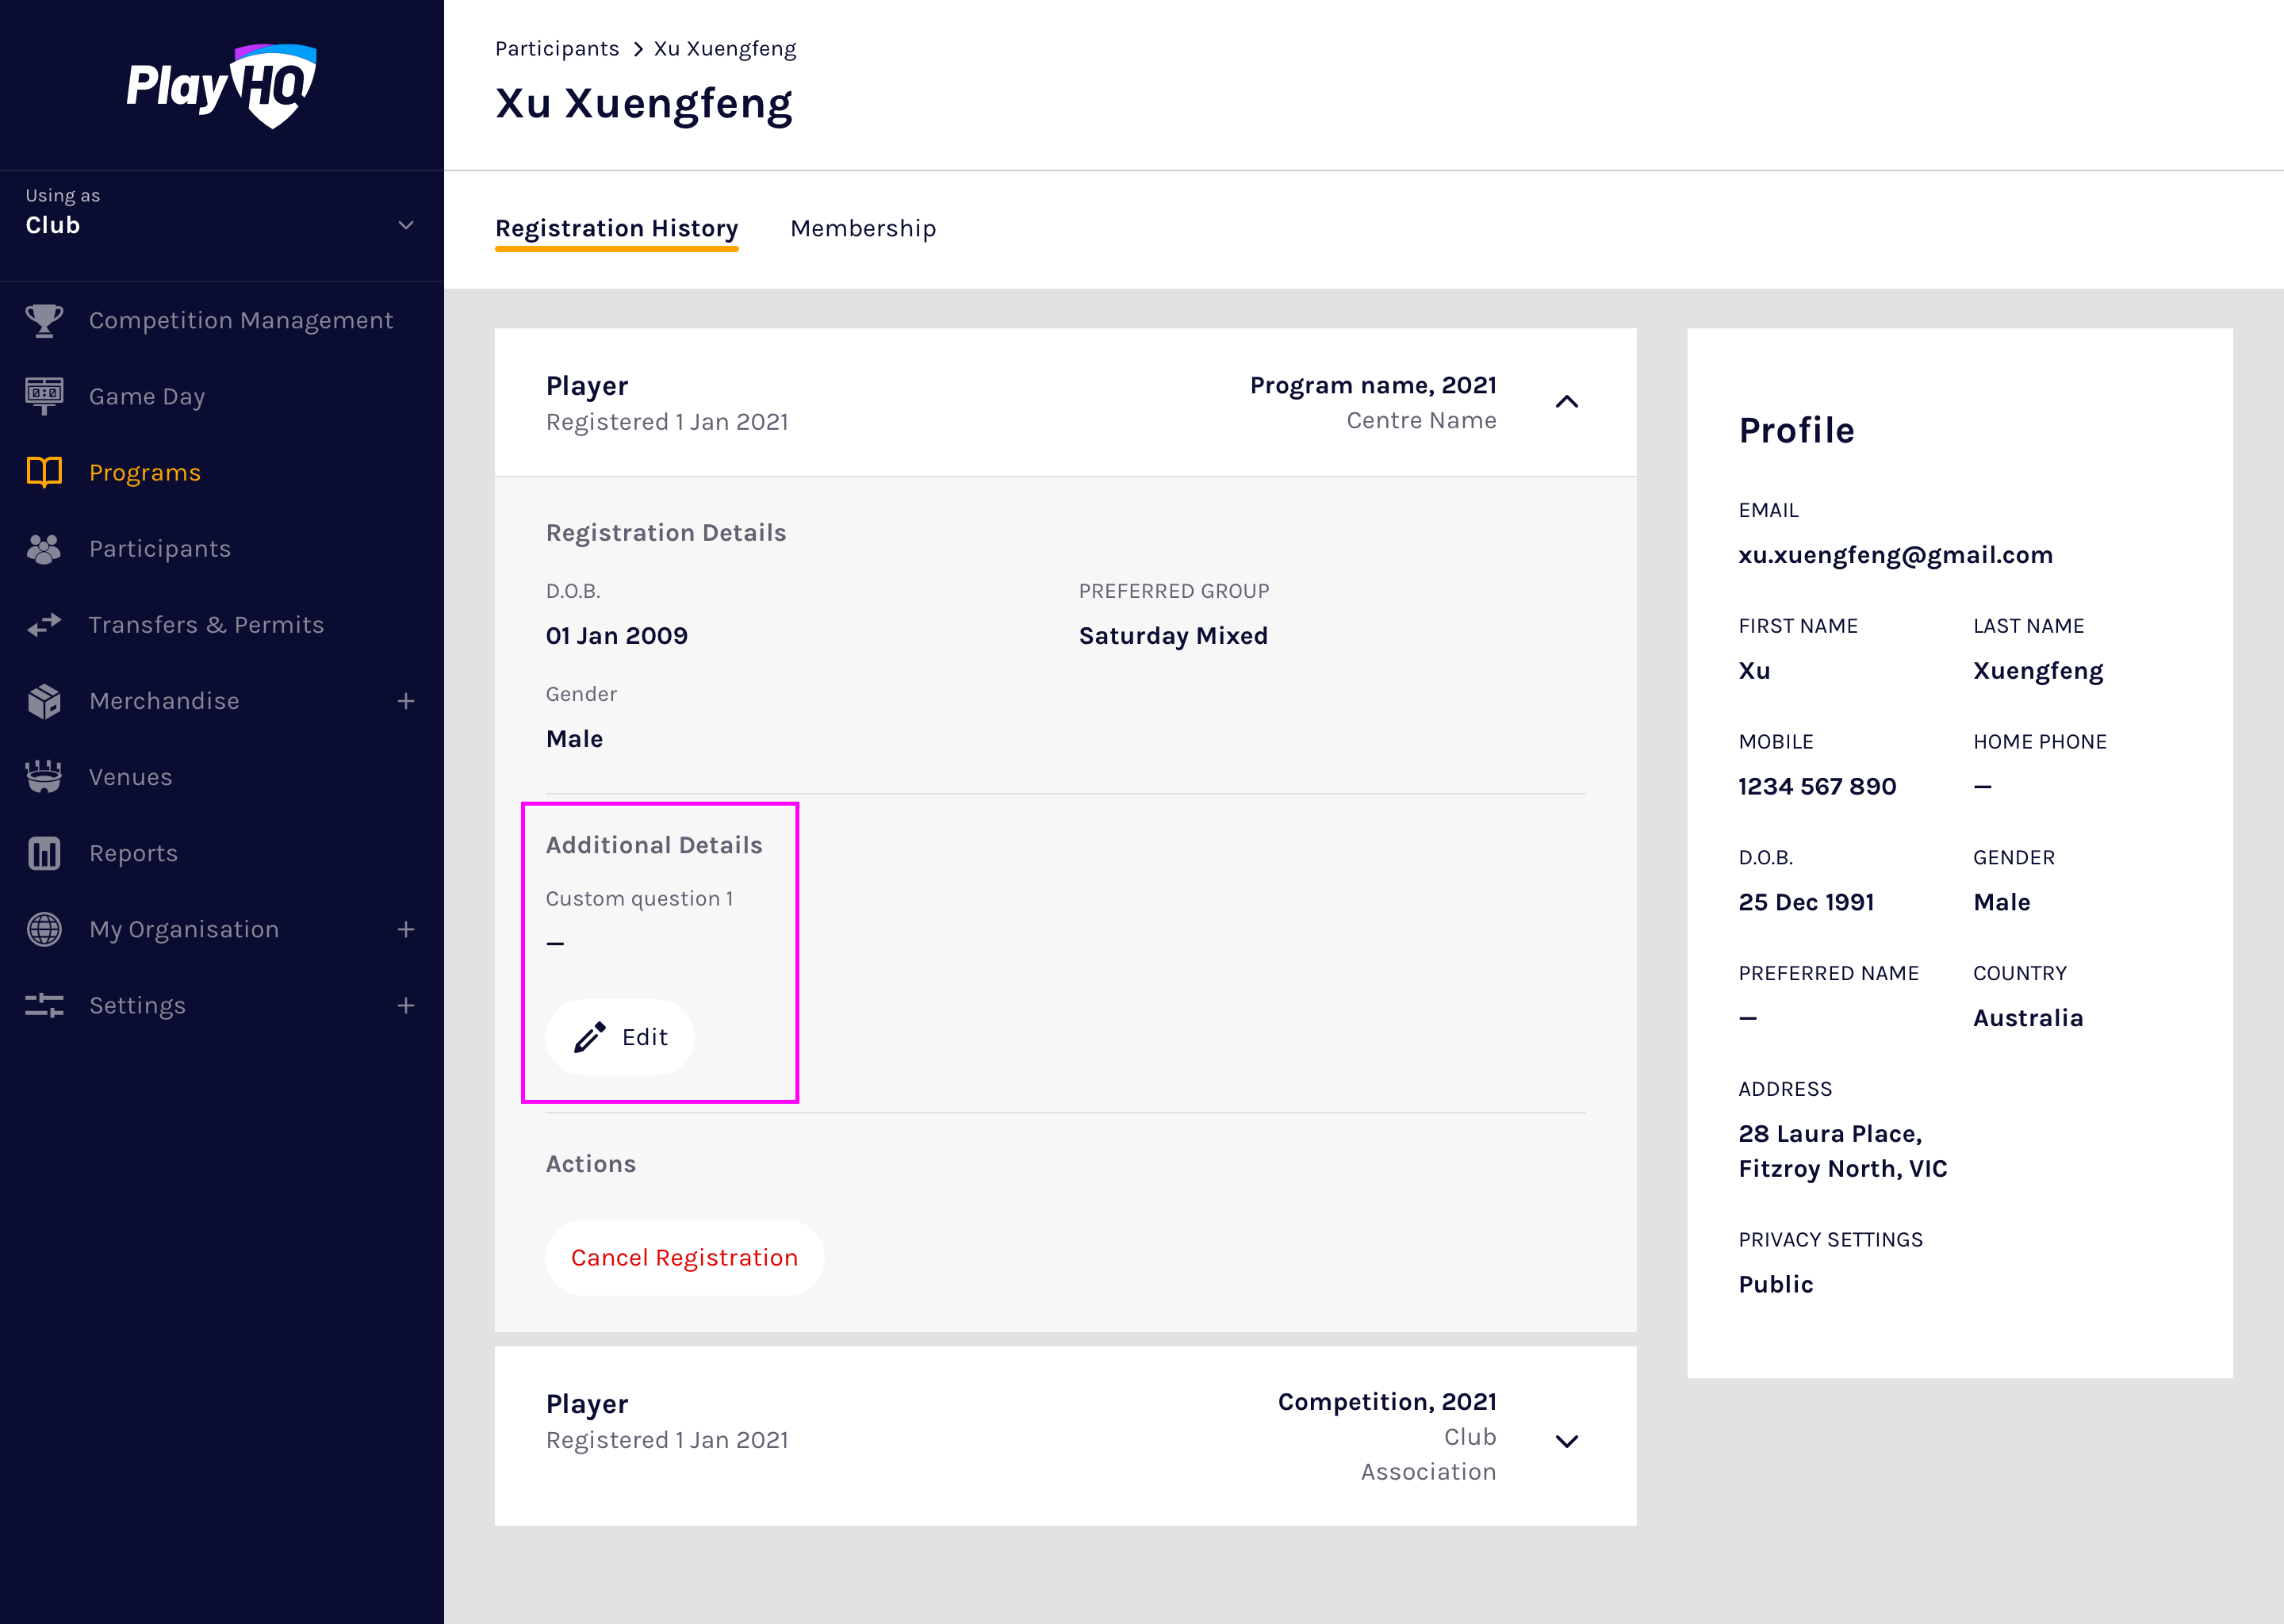
Please refer to Viewing the program participation report for reporting on program custom fields.